Preparing your home for professional plastering is a crucial process that requires attention to detail to achieve a long-lasting and smooth finish. Whether you’re renovating a single room or undertaking a whole-house plastering project, proper preparation will ensure the job is done efficiently and professionally. From cleaning walls to protecting your furniture and selecting the right tools and materials, each step plays a key role in the outcome.
This guide delves into the best practices for preparing your home for plastering, covering everything from wall preparation and selecting the correct tools to tips for maintaining the finished result. By following these guidelines, you can ensure your plastering project is successful, creating a flawless finish that enhances your home’s interior for years to come.
Cleaning and Preparing Walls
Before plastering begins, the most critical task is cleaning the walls thoroughly to remove any dust, dirt, or grease that may interfere with the plaster’s adhesion. Start by washing the walls with a mixture of water and sugar soap to remove any grime, especially if the walls were previously painted. Make sure the surface is completely dry before moving forward.
Removing all wallpaper is essential, as plastering over wallpaper can result in peeling and an uneven finish. Use a wallpaper steamer or scraper to strip away any remaining paper. If adhesive residue is left behind, scrub it off to ensure a clean surface for the plaster to adhere to.
Once the walls are clean, inspect them for any damage, such as cracks or loose plaster. Minor cracks can be filled with filler, but larger, flaking areas should be scraped back to the underlying surface. Applying a bonding agent, such as PVA (polyvinyl acetate) glue, to these areas will help the new plaster adhere effectively.
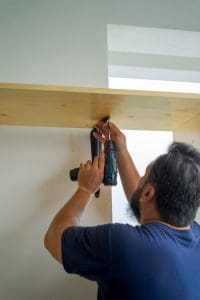
Power Precautions and Removing Fixtures
Before starting the plastering process, it’s essential to ensure safety by turning off the power supply to the room. This step prevents electrical accidents when plastering near sockets and light fittings. Remove all faceplates from electrical sockets and light switches, or cover them securely to prevent plaster from getting into the fixtures.
For added safety, consider hiring an electrician to temporarily remove light fittings and other electrical components in areas where plastering will take place. This will not only ensure safety but also prevent any damage to your fixtures during the plastering process.
Essential Tools and Materials
Having the right tools and materials at hand will save time and make the plastering process smoother and more efficient. Below is a list of essential plastering tools:
- Plasterer’s Hawk and Trowel: The hawk is used to hold plaster while applying it to the walls, and the trowel spreads the plaster smoothly over surfaces.
- Mixing Buckets: It’s important to have a sturdy mixing bucket, preferably more than one, to ensure you can mix enough plaster for the job without running out mid-task.
- Sanding Block and Sandpaper: These tools are used for smoothing the plaster after it has dried, providing a professional finish.
- Utility Knife: Useful for cutting plasterboard or trimming scrim tape during the preparation process.
- Protective Dust Sheets: Cover furniture and floors with dust sheets or plastic coverings to protect them from plaster splashes and dust during the process.
- PVA Adhesive: Applying PVA glue to the walls before plastering helps the new plaster adhere better and prevents future cracking.
Selecting the Right Materials
Choosing the appropriate materials for your project is equally important. Different types of plaster are available, including traditional lime plaster and modern gypsum plaster, each suited to specific projects. Consult with your plasterer to select the best option for your needs.
For jointing plasterboard, you’ll need scrim tape to cover the seams, preventing cracks from forming after the plaster dries. Dust sheets and protective plastic sheeting are essential for keeping your workspace clean, and plastic bags should be used for collecting waste throughout the project.
Preparing Your Space for Plastering
To ensure a smooth plastering experience, it’s essential to prepare your workspace by clearing and protecting the room where the work will be done.
Protecting Furniture and Floors
Start by moving all furniture out of the room if possible. For larger or immovable items, cover them with thick dust sheets to protect them from plaster dust and accidental splashes. Fine plaster dust can settle in even the smallest crevices, so ensure the dust sheets are properly secured and large enough to cover the furniture entirely.
Floors should also be covered with a combination of plastic sheeting and dust sheets, particularly if you have carpeting, which is more susceptible to damage from plaster. Secure the edges of the protective sheets with tape to prevent them from moving and creating tripping hazards.
If you’re plastering near light fittings, cover them with plastic bags and secure them with tape. The same goes for sockets, especially if an electrician hasn’t removed them. These precautions will prevent plaster from entering the fittings and causing damage.
Preparing Walls for Plastering
Once your furniture and floors are protected, focus on prepping the walls for plastering. As mentioned earlier, all wallpaper must be removed, and any remaining adhesive scrubbed away. Use a wire brush to remove any loose material and ensure the surface is completely clean.
Inspect the walls carefully for cracks or loose plaster. Fill smaller cracks with filler and sand them down until smooth. Larger damaged areas will need to be scraped back, and a bonding agent such as PVA should be applied before the plastering begins. For freshly plastered walls, light sanding may also help create a better surface for the new coat of plaster to adhere to.
Plastering Techniques
Proper plastering techniques are essential for achieving a smooth, even finish that will last for years. Below, we’ll discuss how to mix and apply plaster correctly.
Mixing Plaster to the Right Consistency
Mixing plaster correctly is a crucial step in the process. Start by pouring plaster powder into a clean mixing bucket, adding water gradually while stirring the mixture. A bucket trowel is ideal for this task, as it allows for smooth and even mixing. The consistency you’re aiming for is thick and creamy—if it’s too runny, it won’t stick to the walls, and if too thick, it will be difficult to apply evenly.
Make sure to mix the plaster thoroughly, eliminating all lumps. Use the plasterer’s hawk to hold small amounts of plaster while you work. Clean tools are essential to ensure the plaster doesn’t pick up debris that could cause bumps in the final finish.
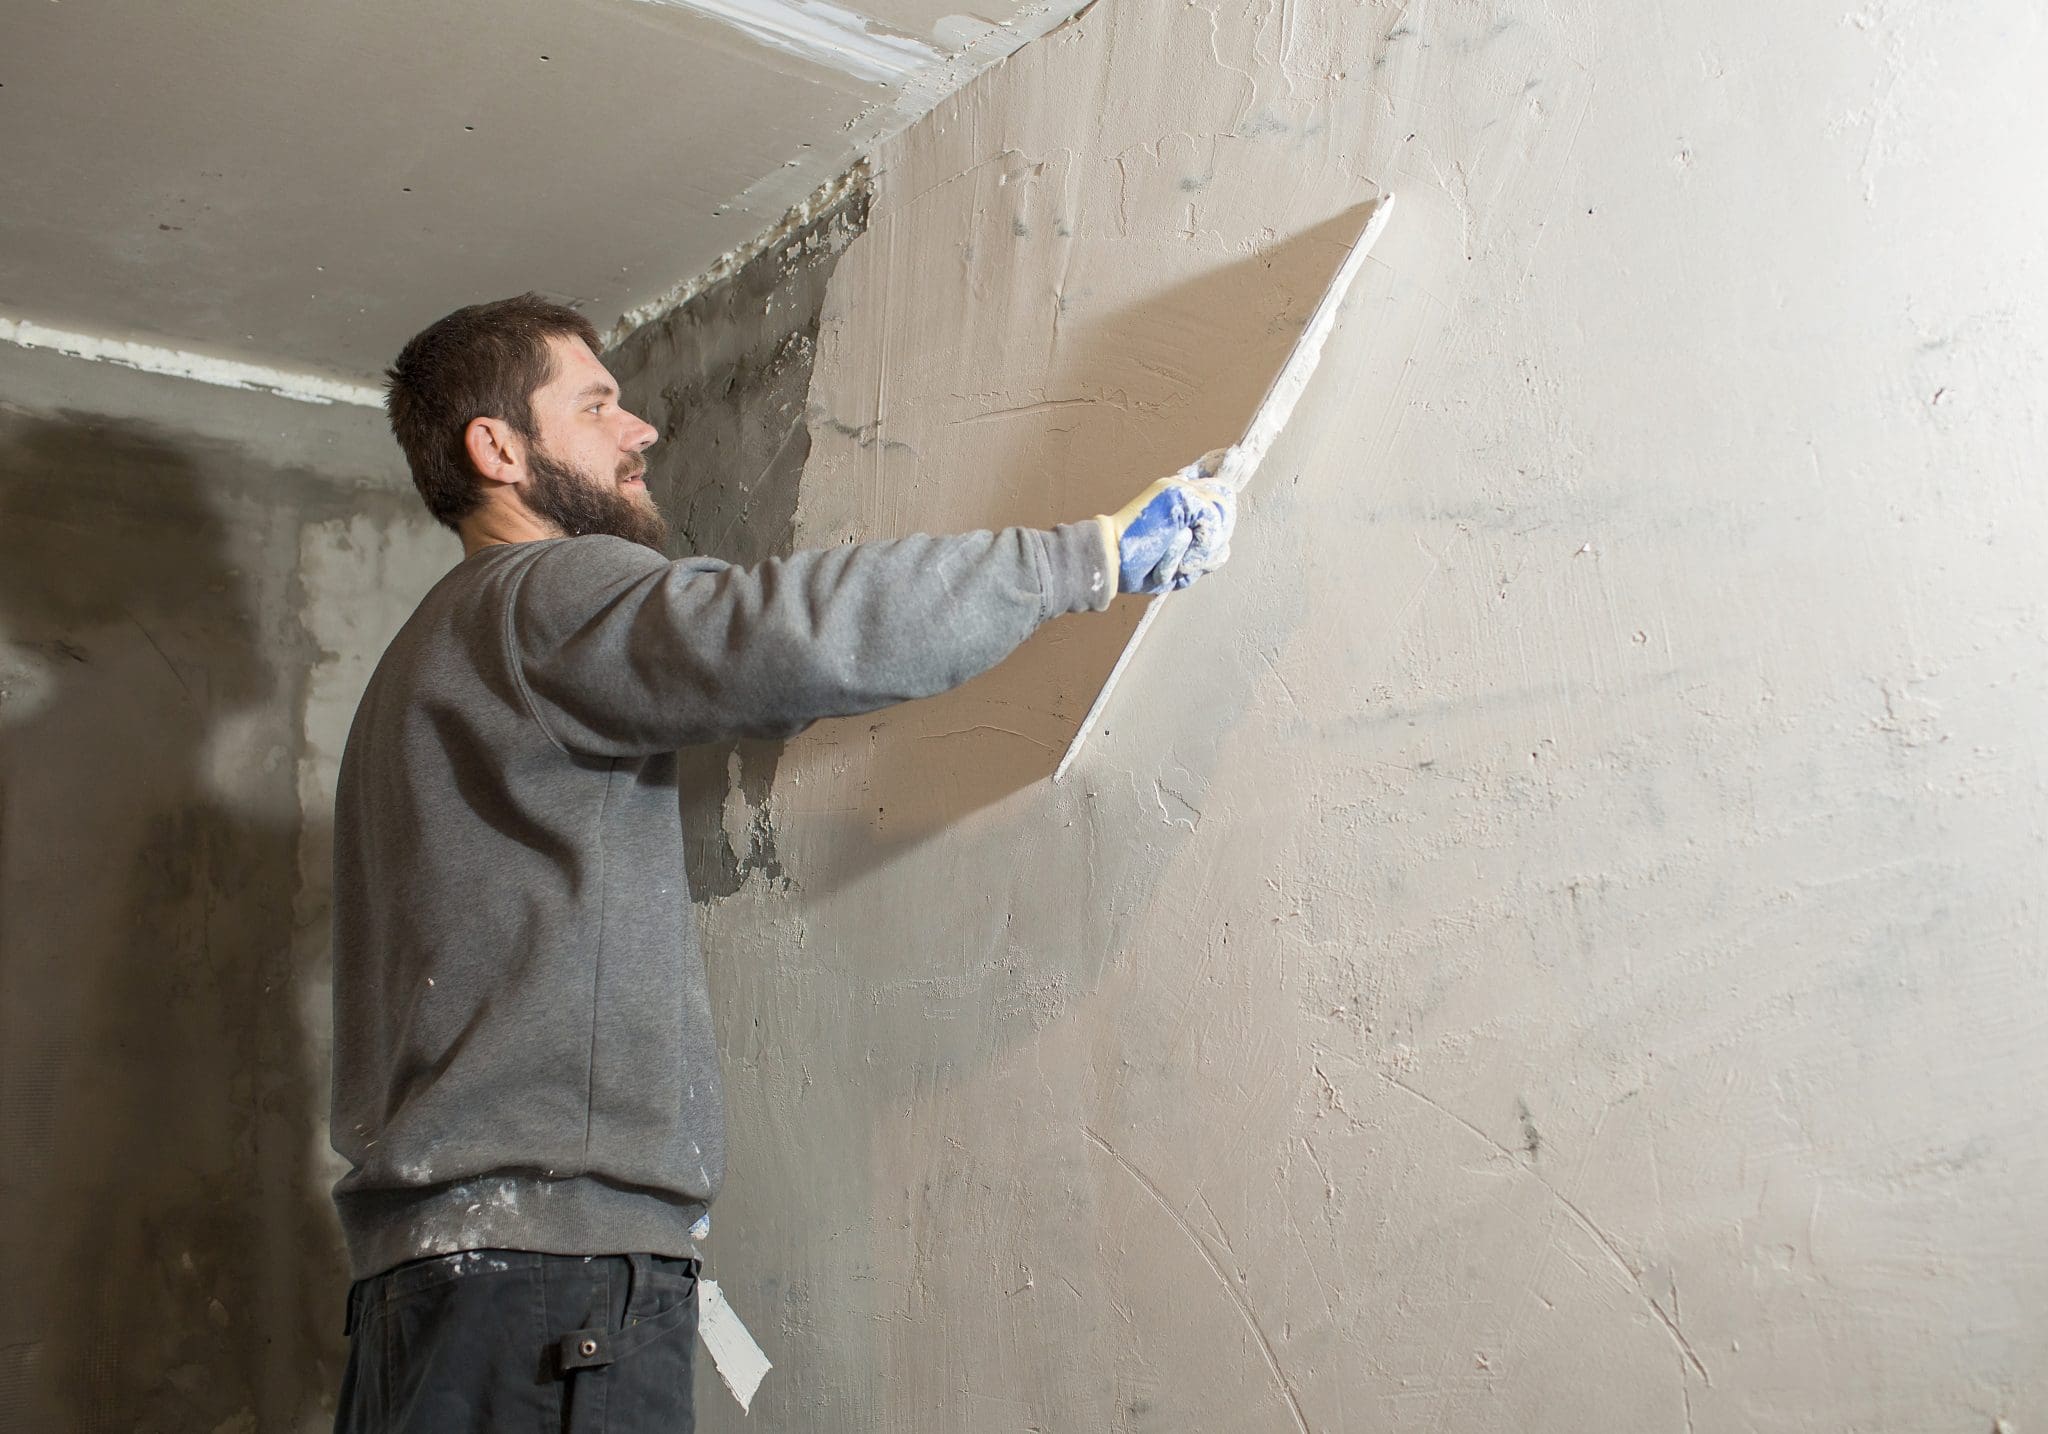
Applying the Plaster
When applying the plaster, start by ensuring the walls have been primed with PVA to help the plaster bond properly. Spread the plaster using a trowel, holding it at a 30-degree angle and applying it in a smooth, sweeping motion. Begin at the top of the wall, working your way down, and apply consistent pressure to achieve an even coat.
Cover all areas, including difficult spots around sockets, windows, and edges. After the first coat, allow the plaster to set slightly before applying a second coat. Use a spray bottle to mist the first layer lightly before adding the second coat. This improves adhesion and ensures a flawless finish.
Smooth out imperfections as you go, paying special attention to edges and corners. A smooth, consistent finish is the key to avoiding time-consuming corrections later.
Aftercare and Finishing Touches
After the plastering is complete, the finishing touches and aftercare are essential for maintaining a professional appearance.
Sanding and Painting
Once the plaster has dried completely, use fine-grit sandpaper to smooth out any bumps or imperfections. Be gentle while sanding, as over-sanding can damage the plaster and create a patchy surface.
After sanding, use a wet paintbrush to remove dust from the walls before applying paint. Begin by applying a primer to seal the plaster and create a smooth surface for the final coat of paint. Once the primer is dry, apply two coats of paint, using even strokes with a roller for large areas and a brush for corners and edges.
Maintaining a Professional Finish
Maintaining the professional finish on your walls requires careful attention. Avoid hanging heavy items directly on the plaster to prevent cracks. Regularly clean the walls with a damp cloth to remove dust and grime, and periodically inspect the walls for any signs of wear or damage. Addressing small issues early will keep the plaster looking fresh and new for longer.
For any major repairs, consult a professional plasterer like those at 3D Construction to ensure the longevity of your investment. Proper maintenance and regular checks will help you keep your newly plastered walls in perfect condition for years to come.