Plastering is more than just a cosmetic enhancement; it serves as a protective shield for walls, offering durability and a smooth surface for further decoration. However, to maximise the benefits of plastering, it is essential to approach the task with care and avoid making common mistakes. While plastering might appear to be a straightforward job, it demands a precise blend of skills, experience, and the right equipment. Homeowners who decide to attempt plastering as a DIY project frequently encounter difficulties, as they often lack the necessary tools like a trowel, bucket, hawk, fine-grit sandpaper, and a dust mask. Additionally, without adequate knowledge, many fall prey to typical plastering errors that can impact the quality and longevity of the finish.
In this expanded guide, we’ll explore the most common plastering mistakes, doubling the information to ensure you’re well-prepared to tackle this project. If you’re considering doing the plastering yourself, this advice will help you avoid pitfalls. And if you’re thinking of hiring a professional, it will give you an understanding of what goes into a quality plastering job.
1. Neglecting to Clean and Prime the Surface Properly
One of the most overlooked yet essential steps in plastering is surface preparation. Before applying any plaster, the wall must be thoroughly cleaned. Dust, dirt, grease, and loose particles can prevent plaster from adhering correctly, resulting in a poor finish or even causing the plaster to crack and peel over time. If you are working on a wall with old plaster, you’ll need to scrape off any damaged or peeling sections. This can be done using a wire brush or coarse sandpaper for stubborn areas.
In addition to cleaning, priming the surface is equally important. Walls, especially porous ones such as brick or aged plaster, need a coat of PVA (polyvinyl acetate) primer to ensure proper adhesion. The PVA creates a seal, preventing the plaster from drying out too quickly and cracking as it cures. Mix the PVA with water, typically in a 4:1 ratio, and apply it evenly across the surface. Allow it to dry completely before beginning plastering. Skipping this step can lead to an uneven or patchy finish that won’t last.
2. Mixing Plaster Incorrectly
The quality of the plaster mix is crucial to the final result. Too often, DIY enthusiasts either mix plaster that’s too thick, which is difficult to work with, or too runny, which can lead to cracks and poor durability. Achieving the right consistency requires careful attention to the plaster-to-water ratio.
Typically, a 1:2 plaster-to-water ratio is recommended. Start by filling the bucket with water and gradually adding the plaster. This prevents clumping, which can be challenging to smooth out once the plaster is applied. Stir the mixture thoroughly, aiming for a consistency similar to thick toothpaste. If the mix is too thick, cautiously add more water. Conversely, if it’s too runny, sprinkle in small amounts of plaster, stirring between each addition until you reach the desired texture. A properly mixed plaster should be easy to spread yet firm enough to hold its shape.
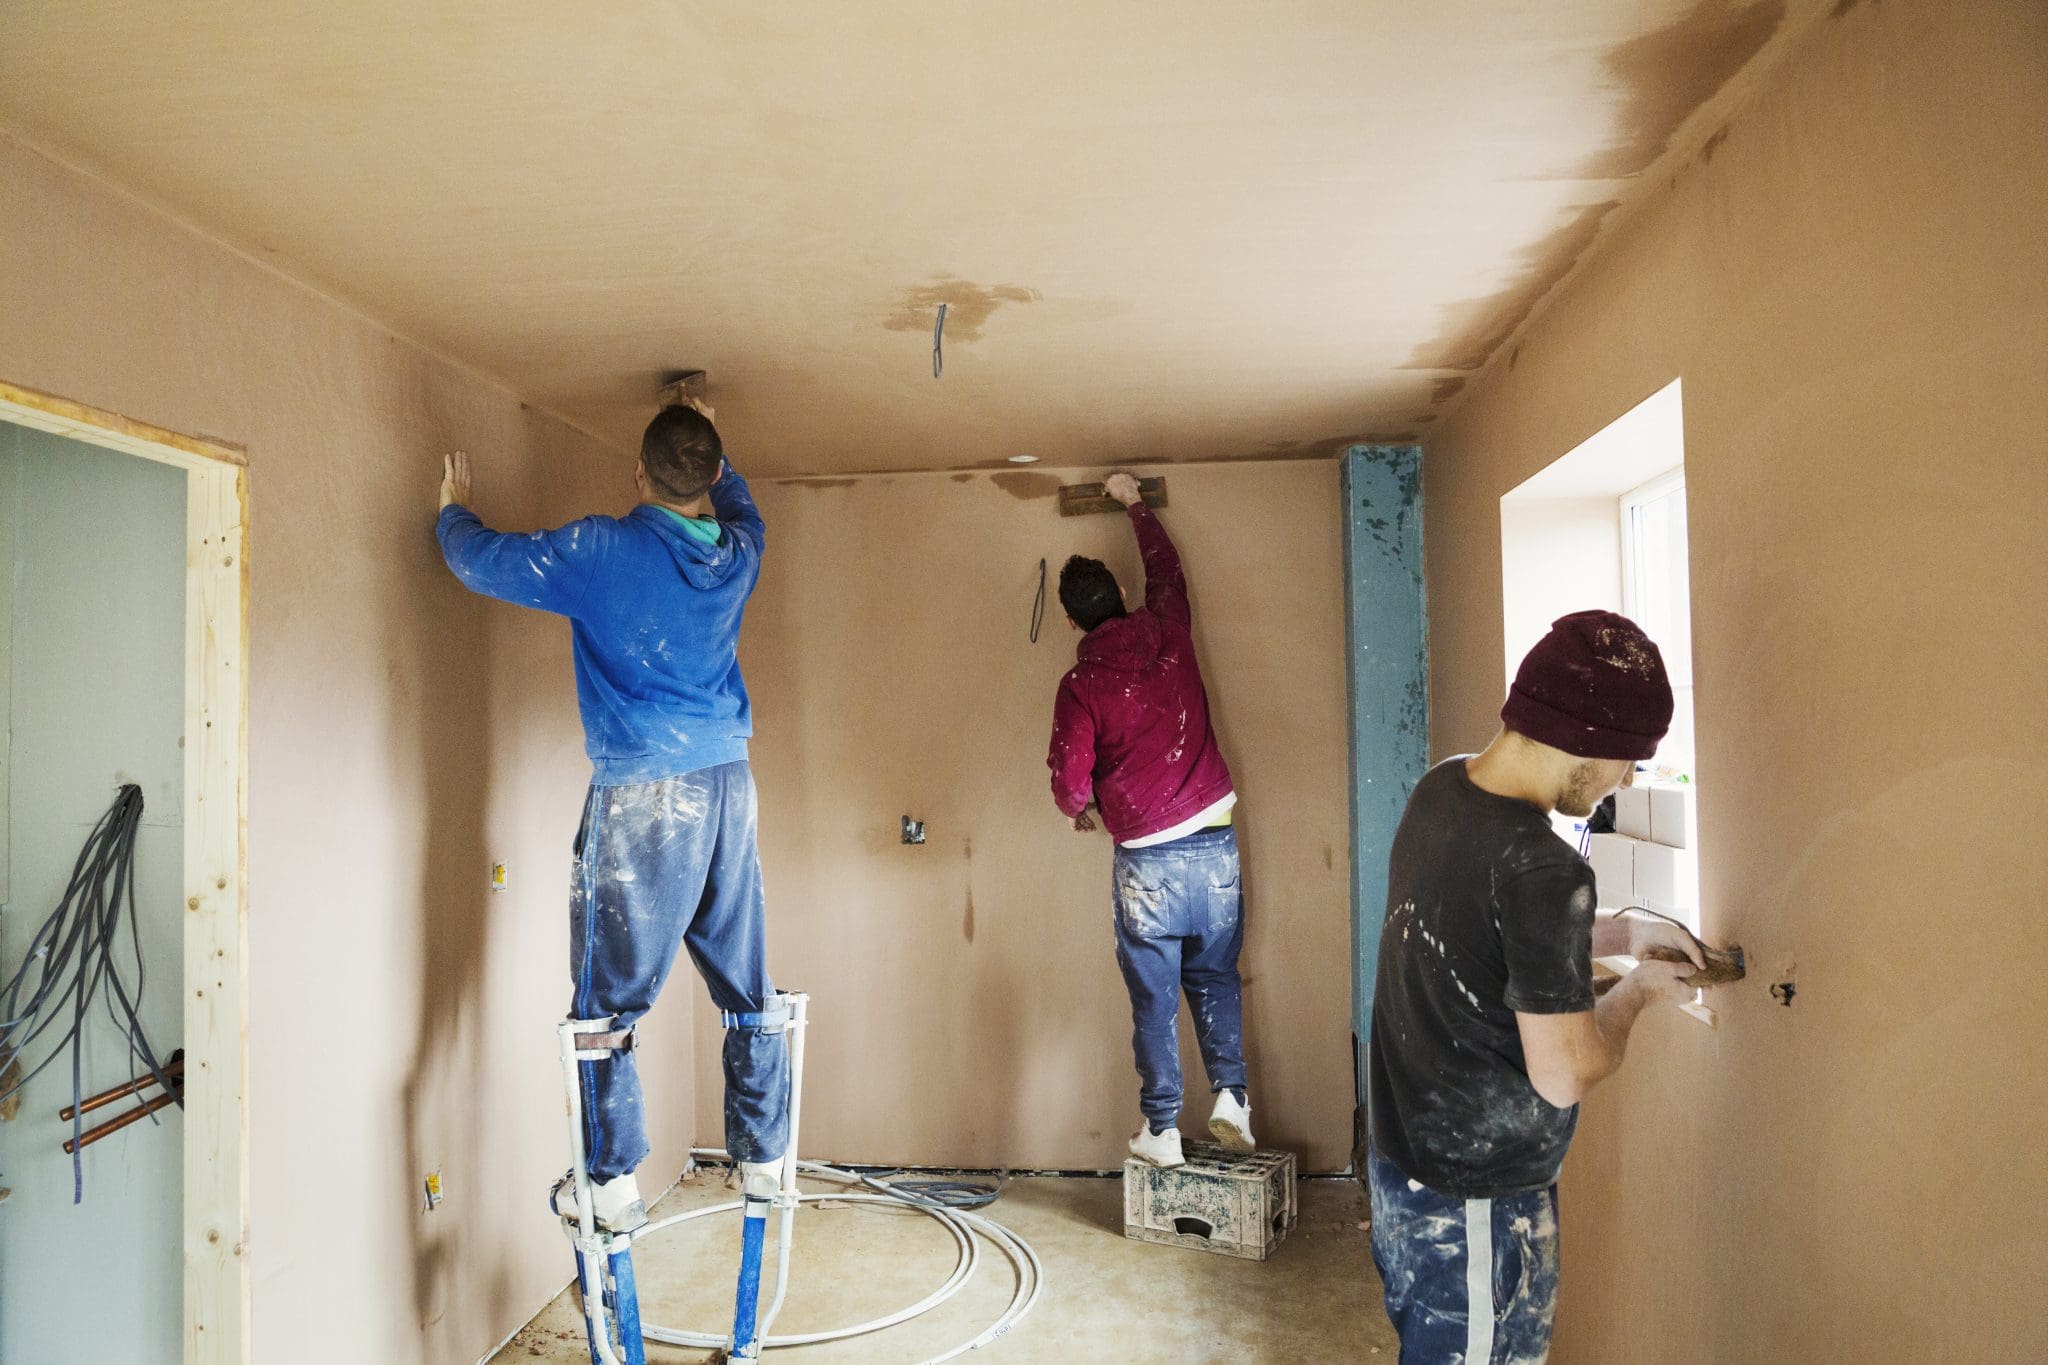
3. Using Incorrect or Poor-Quality Tools
Another frequent mistake is using the wrong tools, or worse, tools that are worn out or dirty. Having the right equipment is essential to achieving a smooth, professional finish. Key tools for plastering include a large bucket for mixing, a mixer drill with a paddle attachment for consistent blending, and a hawk and trowel for applying the plaster evenly across the surface.
While some may attempt to mix plaster by hand using a stick or similar tool, this can result in an uneven consistency. A mixer drill ensures that all the lumps are blended out and that the plaster is smooth and easy to work with. Additionally, clean your tools thoroughly after each use. Residual dried plaster can cause lumps in your new mix and spoil your finish.
4. Applying Plaster Too Thickly or Too Thinly
It’s crucial to apply plaster in layers, but many make the error of applying it too thickly, which can lead to long drying times and, eventually, cracks. The initial coat, known as the ‘scratch coat,’ should be thin and even, creating a stable base for subsequent layers. Each additional layer should be applied only after the previous one has dried sufficiently.
On the other hand, applying plaster too thinly can result in weak sections that easily crumble. Aim for a uniform thickness of around 2-3mm for each coat. Rushing this process will lead to an unsatisfactory finish that may require costly repairs later.
5. Failing to Allow Adequate Drying Time Between Coats
Patience is essential when plastering, particularly between coats. After applying the first layer, it’s vital to give it enough time to dry before moving on to the next. Adding a new coat to a still-wet layer can trap moisture, leading to blistering, cracking, or flaking.
The time needed for each layer to dry varies depending on the type of plaster, the temperature, and the humidity in the room. However, in general, each coat should be allowed to dry for at least 24 hours. Consult the manufacturer’s guidelines for precise drying times.
6. Not Properly Curing the Plaster
The curing process, which happens after the plaster has dried, is often misunderstood. Curing strengthens the plaster and ensures it reaches its full durability. This step can take several days or even weeks, depending on the conditions.
During curing, it’s essential to keep the room at a consistent temperature and avoid any sudden changes in humidity. Plaster that hasn’t been properly cured is prone to cracking and may not last as long, ultimately affecting the quality of your finished walls.
7. Over-Sanding or Using the Wrong Grit Sandpaper
Once the plaster has dried, the final stage is sanding. Over-sanding or using an overly coarse grit can lead to gouges and unevenness in the plaster, which will be visible once the walls are painted. Begin with a medium grit (around 120) to remove any bumps, and then switch to a fine grit (220 or higher) for a smooth, even surface.
Use a sanding block to ensure even pressure across the wall and prevent creating indentations or grooves. After sanding, be sure to wipe the walls with a damp cloth to remove dust, allowing for a flawless painting surface.
8. Rushing the Job
Plastering is not a job that can be rushed. Whether it’s mixing, applying, or curing, each stage of the process requires careful attention and sufficient time. Cutting corners by speeding through will only lead to errors that may not be immediately visible but will manifest over time as cracks, uneven surfaces, or peeling.
9. Ignoring Environmental Conditions
Humidity, temperature, and ventilation play significant roles in how plaster dries and cures. In environments that are too humid, plaster may take excessively long to dry, while in hot or overly dry conditions, it may dry too quickly, causing cracks. Aim for a consistent, moderate environment, and consider using dehumidifiers or fans to control the drying conditions.
10. Using Plaster Beyond Its Working Time
Plaster has a specific working time after being mixed, typically around 30-45 minutes, depending on the product. Using plaster beyond this time can result in poor adhesion, uneven application, and a weak finish. Be mindful of your plaster’s working time, and mix only as much as you can comfortably apply within that period.
11. Skipping Professional Help When Needed
While many DIY enthusiasts are keen to take on plastering themselves, there’s no shame in seeking professional help. A skilled plasterer brings years of experience and knows how to avoid these common mistakes, ensuring a high-quality finish. Companies like 3D Construction offer expert plastering services, giving you peace of mind and a flawless result.
12. Overlooking Health and Safety
Plastering can be messy and involve potentially hazardous materials. Always wear the proper protective gear, including a dust mask, gloves, and safety goggles, especially during mixing and sanding. Poor ventilation during sanding can also lead to dust inhalation, so ensure the area is well-ventilated.
Plastering is a skill that requires patience, precision, and the right approach. By avoiding these 12 common mistakes and following best practices, you can ensure a smooth and durable finish for your walls. For those who feel unsure about tackling the task, reaching out to 3D Construction ensures your plastering project will be handled with the utmost care and expertise.