Plastering is one of the most important stages in creating smooth, durable walls that are ready for decorating. Whether you’re renovating a single room, modernising an older property, or carrying out a full home extension in Bury, proper preparation is the key to achieving a flawless finish. Many homeowners underestimate this step, but preparing your walls correctly not only makes the plasterer’s job easier, it also ensures your paint or wallpaper will look better and last longer.
In this guide, we’ll walk you through how to prepare your walls for plastering, what to watch out for, and why calling in a professional plasterer in Bury is often the smartest choice.
Why Preparation Matters Before Plastering
Plastering is a skilled job, but even the most experienced plasterer needs a stable, clean, and suitable surface to work with. Skipping preparation can lead to:
- Poor adhesion – plaster may crack or fall away.
- Visible imperfections – bumps, holes, or stains can show through.
- Moisture issues – damp walls will cause plaster to fail prematurely.
- Higher costs – fixing problems later is always more expensive.
By investing time in preparation, you set the stage for a professional-looking result.
Step 1: Clear the Area
Before any plastering begins, you’ll want to clear the room as much as possible. Remove furniture, decorations, and wall hangings. If large pieces can’t be moved, cover them securely with dust sheets. Plastering is a messy process, and even experienced tradespeople can’t avoid dust entirely.
Step 2: Strip Back Old Finishes
If your walls are currently painted, wallpapered, or tiled, these finishes must be removed before plastering can start. Here’s why:
- Wallpaper – even thin layers left behind can cause plaster to bubble.
- Paint – shiny surfaces don’t bond well with plaster and should be sanded or scored.
- Tiles – must be completely removed, along with adhesive, to avoid uneven surfaces.
Taking the time to strip walls back to their bare state helps plaster stick firmly and evenly.
Step 3: Inspect for Damage
Once walls are bare, check carefully for cracks, holes, or loose sections of existing plaster. These weak spots will need to be repaired or removed. Pay particular attention to:
- Hairline cracks (common in older Bury homes).
- Damp patches or water staining.
- Crumbling or hollow-sounding plaster.
Any damage should be addressed before plastering begins, otherwise the new plaster won’t last.
Step 4: Clean the Surface
Dust, dirt, and grease all interfere with plaster adhesion. A simple wash down with sugar soap or warm soapy water can make a big difference. For greasy kitchen walls, a stronger degreasing agent may be required.
Walls should be left to dry completely before any further work.
Step 5: Treat Damp or Mould
Damp is one of the biggest enemies of fresh plaster. If you notice mould growth, dark patches, or persistent damp, it must be treated before plastering can start. Possible solutions include:
- Fixing leaks in roofs, gutters, or plumbing.
- Installing damp-proof membranes.
- Using specialist treatments for mould removal.
Plastering over damp areas will only trap moisture and cause the finish to fail.
Step 6: Apply a Base or Bonding Agent
Depending on the type of wall, your plasterer may recommend applying a bonding agent such as PVA (polyvinyl acetate) or a similar product. This helps the plaster grip the surface, especially on porous materials like brick or blockwork.
For very uneven walls, a bonding coat of plaster may be applied before the finishing coat.
Step 7: Protect Adjacent Areas
Before plastering starts, protect floors, sockets, light switches, and door frames with masking tape and dust sheets. This makes the clean-up much easier and prevents unnecessary damage.
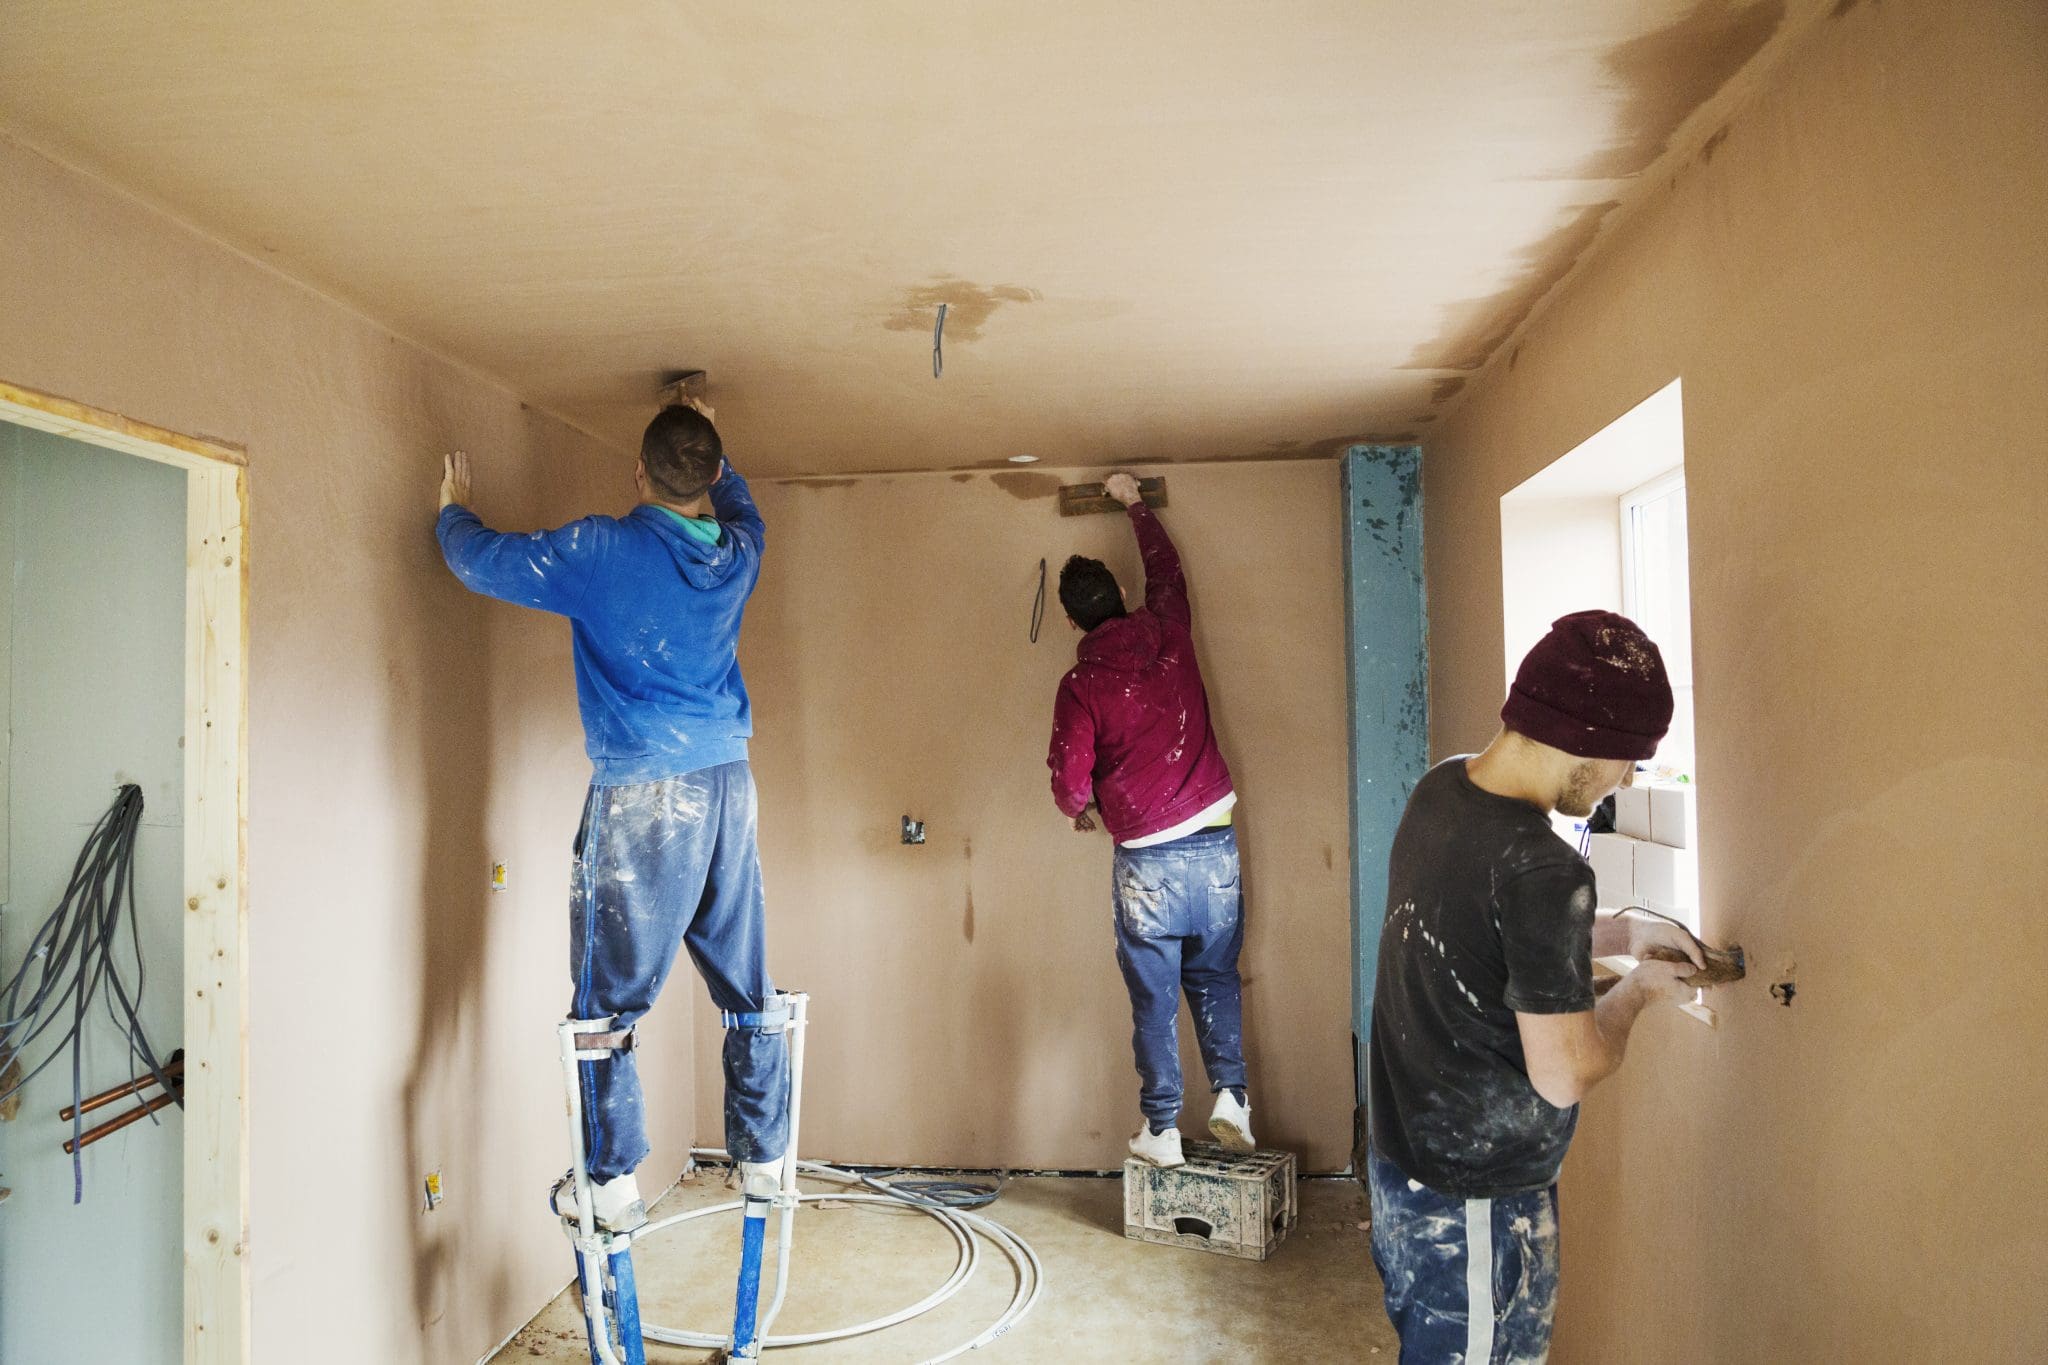
The DIY vs. Professional Debate
Some homeowners in Bury consider plastering a DIY project, but it’s one of the most challenging skills to master. Even if you prepare the walls properly, getting a smooth, even finish with plaster takes years of practice. Common DIY issues include:
- Uneven walls with visible lines.
- Cracks due to incorrect drying.
- Wasted materials from poor mixing or timing.
While preparation can be tackled by confident DIYers, it’s best to leave the actual plastering to professionals. A skilled plasterer will deliver results that are not only visually flawless but also long-lasting.
How 3D Construction Can Help
At 3D Construction, we provide expert plastering services across Bury, helping homeowners prepare, repair, and finish their walls to the highest standards. Whether you’re renovating, extending, or simply updating a room, our team ensures:
- Walls are fully inspected and prepared.
- High-quality materials are used for durability.
- A perfectly smooth finish, ready for painting or decorating.
We also offer painting and decorating services, making us a one-stop shop for transforming your interiors. By hiring us, you can save time and ensure every stage of your project is handled with professionalism.
Conclusion
Preparing your walls correctly is the foundation of any successful plastering project. From stripping old finishes to repairing damage and treating damp, each step plays a vital role in ensuring your plaster lasts and looks flawless.
If you’re based in Bury and want perfectly prepared walls ready for decorating, the safest choice is to hire a professional plasterer. At 3D Construction, we combine expert preparation with outstanding plastering skills to deliver walls that are smooth, durable, and beautiful.
Contact us today for a free quote on plastering in Bury and let us help you create the perfect finish for your home.