Plastering is one of those tasks that looks simple from afar, but achieving a flawless finish requires skill, patience, and attention to detail. As a professional plasterer working across Bury, I’ve seen countless projects where avoidable mistakes led to cracking, uneven surfaces, or wasted materials. Whether you’re plastering for the first time or renovating an older property, understanding the common pitfalls can save time, money, and stress.
In this article, I’ll walk you through the most frequent plastering mistakes homeowners and DIY enthusiasts make, and how to avoid them for a professional-quality finish.
Mistake 1: Skipping Wall Preparation
One of the biggest errors I encounter is inadequate wall preparation. Skipping this step can lead to a range of problems:
- Poor adhesion: Plaster may not stick properly to dust, grease, or flaking paint.
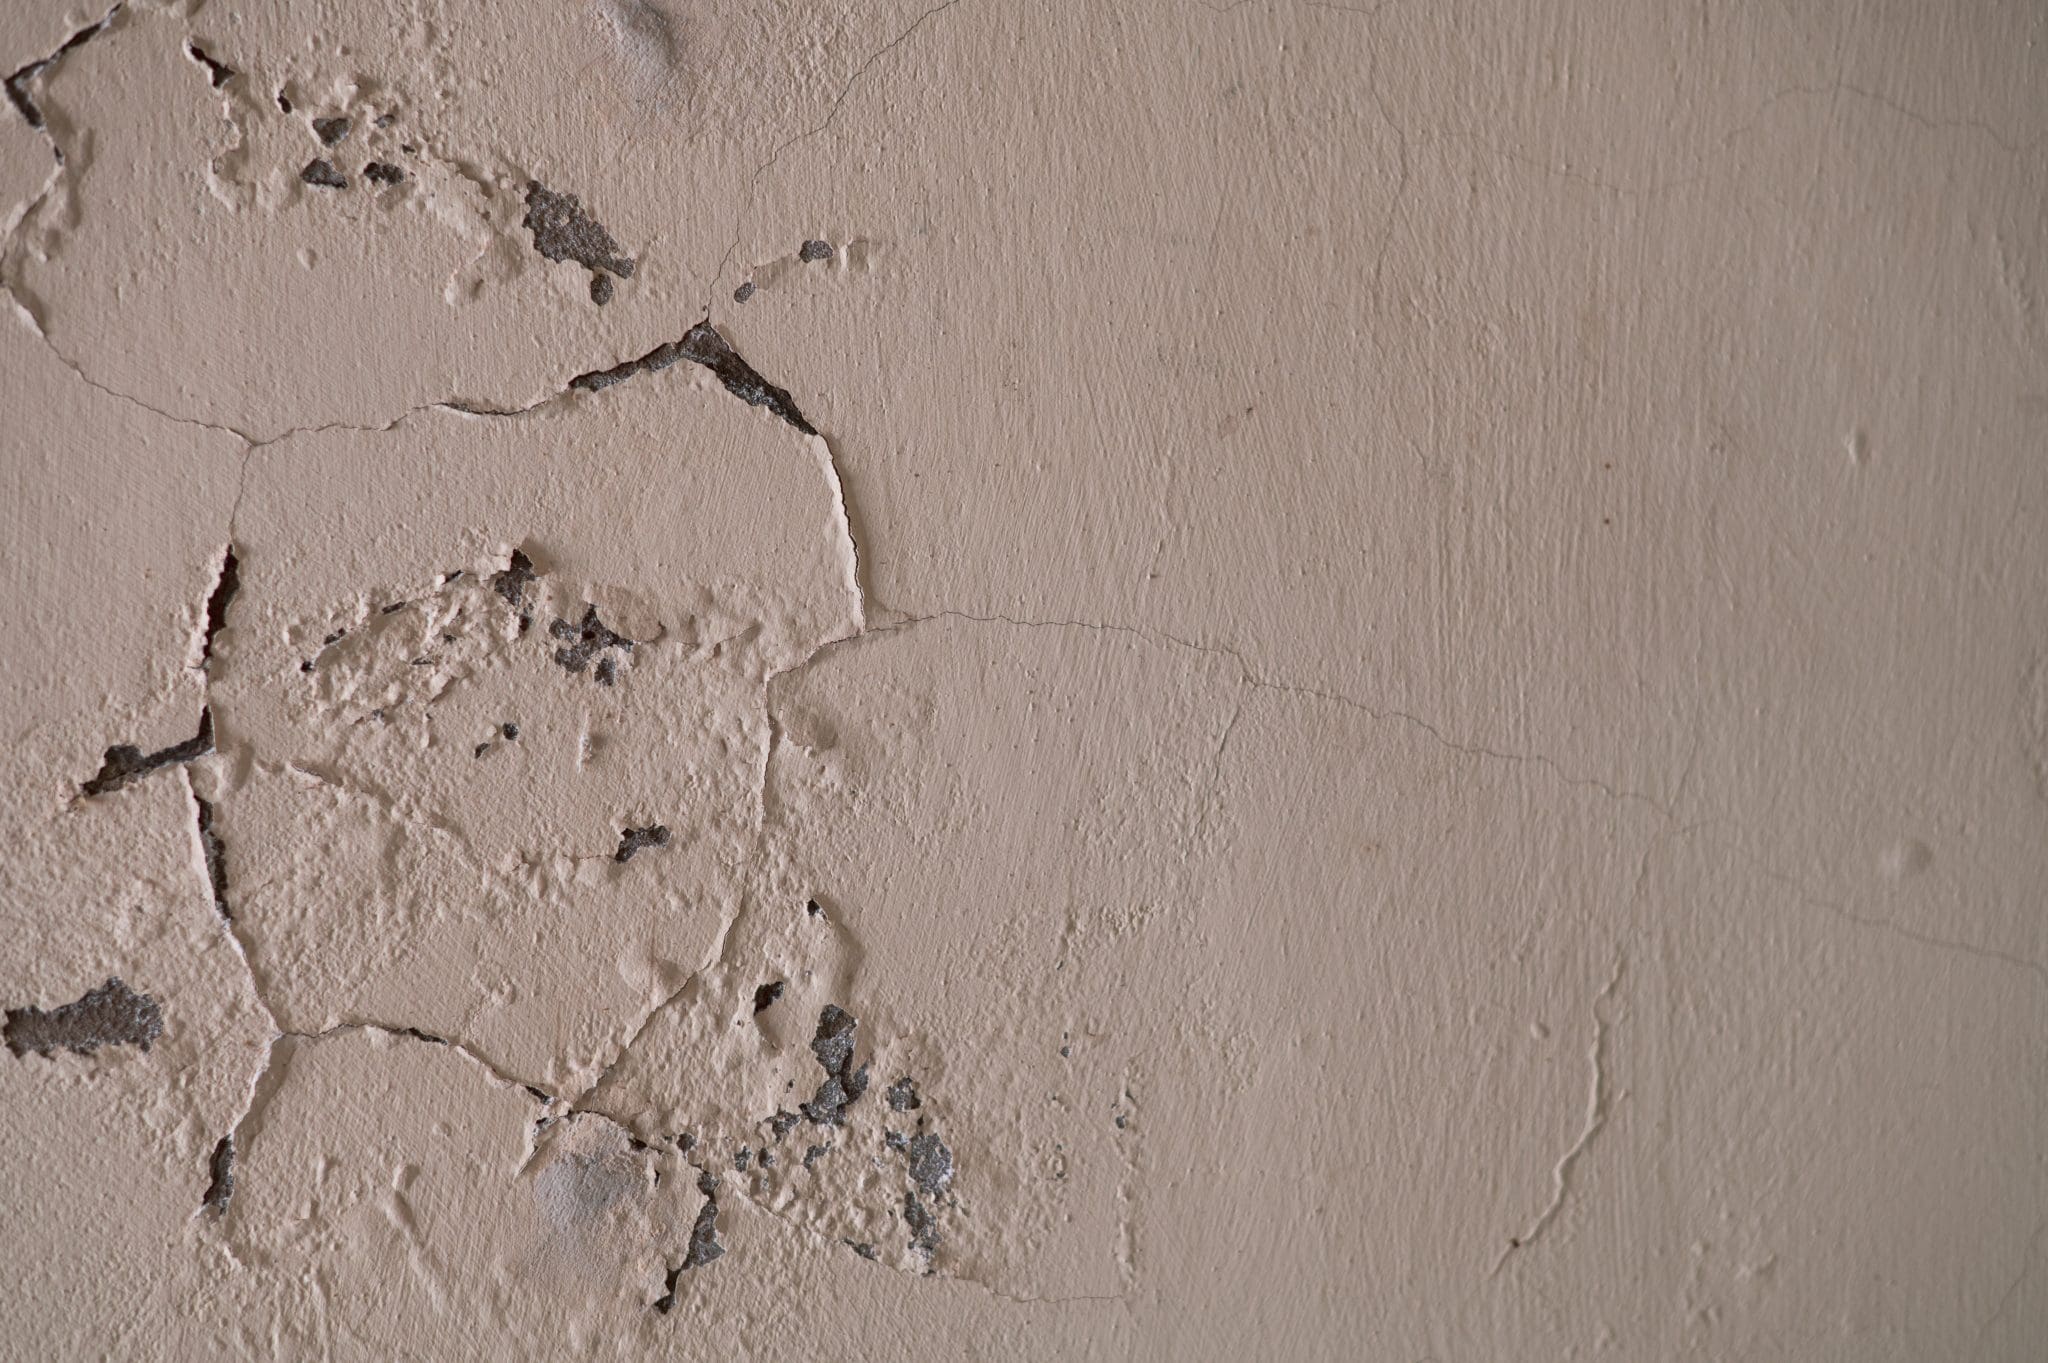
- Cracks and bubbles: Moisture or uneven surfaces can cause the plaster to fail over time.
- Extra work later: Rushed preparation often results in repairs, sanding, or a second plaster coat.
How to avoid it: Always clean, repair, and sand your walls before plastering. Apply a PVA bonding solution if necessary, particularly on porous surfaces or new plasterboard. Proper prep ensures a durable and smooth finish.
Mistake 2: Using the Wrong Plaster
Not all plaster is created equal, and using the wrong type for your project is a common mistake:
- Bonding plaster: Best for bare brick or blockwork, provides strong adhesion.
- Multi-finish plaster: Great for most walls and ceilings, offers a smooth finish.
- Skim coat plaster: Ideal for minor corrections or finishing over existing plaster.
Using the incorrect plaster can lead to cracking, uneven texture, or difficulty in achieving a smooth surface.
Tip: Consult a professional or your supplier about the best plaster for your specific wall type in Bury.
Mistake 3: Applying Too Thick or Too Thin
The thickness of the plaster coat is critical. Applying it too thick can cause sagging, cracking, or long drying times. Too thin, and it won’t cover imperfections or provide a smooth surface.
How to avoid it:
- Apply plaster in even layers of about 10–15mm for walls and ceilings.
- Build up gradually if multiple coats are needed.
- Use a straight edge or darby to check the level across the wall.
Mistake 4: Plastering Over Damp or Wet Walls
Damp walls are a major cause of plaster failure. Moisture can prevent adhesion, encourage mould growth, and eventually cause plaster to crumble or bubble.
Tip: Always check for damp before starting your plastering project. Treat any moisture issues with appropriate damp-proofing solutions and allow walls to dry completely before applying plaster.
Mistake 5: Ignoring Temperature and Humidity
Environmental conditions play a huge role in plastering. Too cold or too hot can affect drying times and the finish:
- Cold walls: Plaster may set too slowly or unevenly, leading to cracking.
- Hot, dry conditions: Plaster can dry too quickly, making it difficult to smooth and increasing the risk of shrinkage cracks.
How to avoid it: Try to maintain a consistent indoor temperature and avoid plastering in extreme conditions. If necessary, use controlled heating or dampening techniques to ensure optimal results.
Mistake 6: Poor Mixing Techniques
Plaster that is not mixed correctly can cause lumps, inconsistent texture, and reduced strength. Common errors include:
- Not using clean water
- Over-mixing or under-mixing
- Mixing too large a batch, causing it to set before application
Tip: Follow manufacturer instructions carefully, mix in manageable batches, and always use clean tools. Proper mixing ensures a smooth, workable plaster ready for application.
Mistake 7: Neglecting Edges and Corners
Corners, skirting boards, and ceiling edges are often overlooked. Inadequate attention here can result in uneven lines, gaps, or chipping.
How to avoid it:
- Use corner beads for external corners to achieve clean lines.
- Feather the plaster carefully along edges for a seamless finish.
- Check edges with a straight edge or level to ensure uniformity.
Mistake 8: Rushing the Process
Plastering is a job that requires patience. Rushing can compromise adhesion, result in uneven surfaces, and increase the likelihood of cracking.
Tip: Take your time, work methodically, and allow each layer to set before applying the next. Remember, a slower approach yields better long-term results.
Mistake 9: Not Using the Right Tools
Using substandard or incorrect tools can make plastering much harder and lead to imperfections:
- Always use a quality trowel, hawk, and float.
- Use a darby or straight edge to check for level.
- Keep your tools clean to prevent lumps and streaks in the plaster.
Investing in proper tools makes a noticeable difference, especially when working on larger walls or ceilings.
Mistake 10: Failing to Finish Properly
Finishing is just as important as application. Poor finishing can leave marks, ridges, or a rough texture that affects paint or wallpaper adhesion.
How to avoid it:
- Use a damp sponge or trowel to smooth edges and remove trowel lines.
- Apply a light skim coat if necessary for a perfectly flat surface.
- Check the wall in different lighting to spot imperfections before it dries completely.
Conclusion
Avoiding these common plastering mistakes is the key to achieving professional-quality walls in your Bury home. From proper wall preparation and plaster selection to careful application and finishing, every step matters.
At 3D Construction, we specialise in plastering homes across Bury, helping homeowners achieve smooth, durable, and flawless finishes every time. Whether you’re renovating a period property or applying a fresh skim to modern interiors, avoiding these mistakes ensures long-lasting results.
If you want expert plastering services in Bury, get in touch with 3D Construction today for a free quote and professional advice. Let us help you transform your walls with precision, skill, and attention to detail.