When it comes to plastering, the quality of your finish is only as good as the preparation work you put in. As a professional plasterer working across Bury, I’ve seen first-hand how proper wall preparation can make the difference between a flawless, long-lasting finish and a surface riddled with cracks, bumps, or peeling plaster.
In this guide, I’ll walk you through everything you need to know about preparing your walls before plastering, including the tools, materials, and steps that will ensure a professional result.
Why Wall Preparation Matters
Many homeowners underestimate the importance of wall preparation. Skipping or rushing this step is a common cause of plastering issues, such as:
- Poor adhesion: Plaster may not stick properly to dirty or uneven surfaces, leading to cracking and peeling.
- Uneven surfaces: Without smoothing and leveling, your finished walls will show imperfections.
- Increased costs and delays: Improper preparation often results in additional repairs, wasting both time and money.
Proper preparation sets the stage for a durable, professional finish, whether you’re plastering an old Victorian property in Bury or a modern new build.
Assessing Your Walls
The first step is to inspect your walls carefully:
- Identify damage: Look for cracks, holes, damp spots, or loose plaster.
- Check the surface: Determine whether the wall is bare brick, plasterboard, or existing plaster.
- Consider moisture issues: Any signs of damp must be addressed before plastering to prevent future damage.
By assessing the wall properly, you can plan the preparation steps needed to achieve the best results.
Tools and Materials You’ll Need
Having the right tools and materials makes preparation much easier. Here’s what I use on-site in Bury:
- Scraper or putty knife
- Sandpaper or sanding block
- PVA bonding solution or primer
- Filler or joint compound for cracks and holes
- Bucket and sponge for cleaning
- Protective gear, such as gloves and goggles
High-quality materials and correct tools ensure efficiency and a smoother finish, saving time and reducing frustration.
Step 1: Clean the Walls
Before any plaster touches the wall, it must be clean. Dust, dirt, grease, or flaking paint can all prevent plaster from adhering correctly.
- Scrape off loose material: Remove old wallpaper, peeling paint, and crumbling plaster.
- Wash the walls: Use a damp sponge to wipe away dust and residue.
- Allow to dry: Wet walls can cause plaster to crack, so ensure the surface is completely dry before moving to the next step.
Cleaning might seem basic, but it’s one of the most critical steps in achieving a long-lasting finish.
Step 2: Repair Cracks and Holes
Cracks, gaps, and holes must be filled before plastering. For minor cracks, a ready-mixed filler is usually sufficient. For larger holes or damaged areas, a stronger joint compound or patching plaster is needed.
- Small cracks: Fill with filler, then smooth with a putty knife.
- Large holes or damaged plaster: Apply a bonding agent, then fill with a thicker plaster compound.
- Smooth the repair: Sand once dry to ensure a level surface for plaster application.
This step not only improves the final appearance but also prevents future cracking in the newly plastered walls.
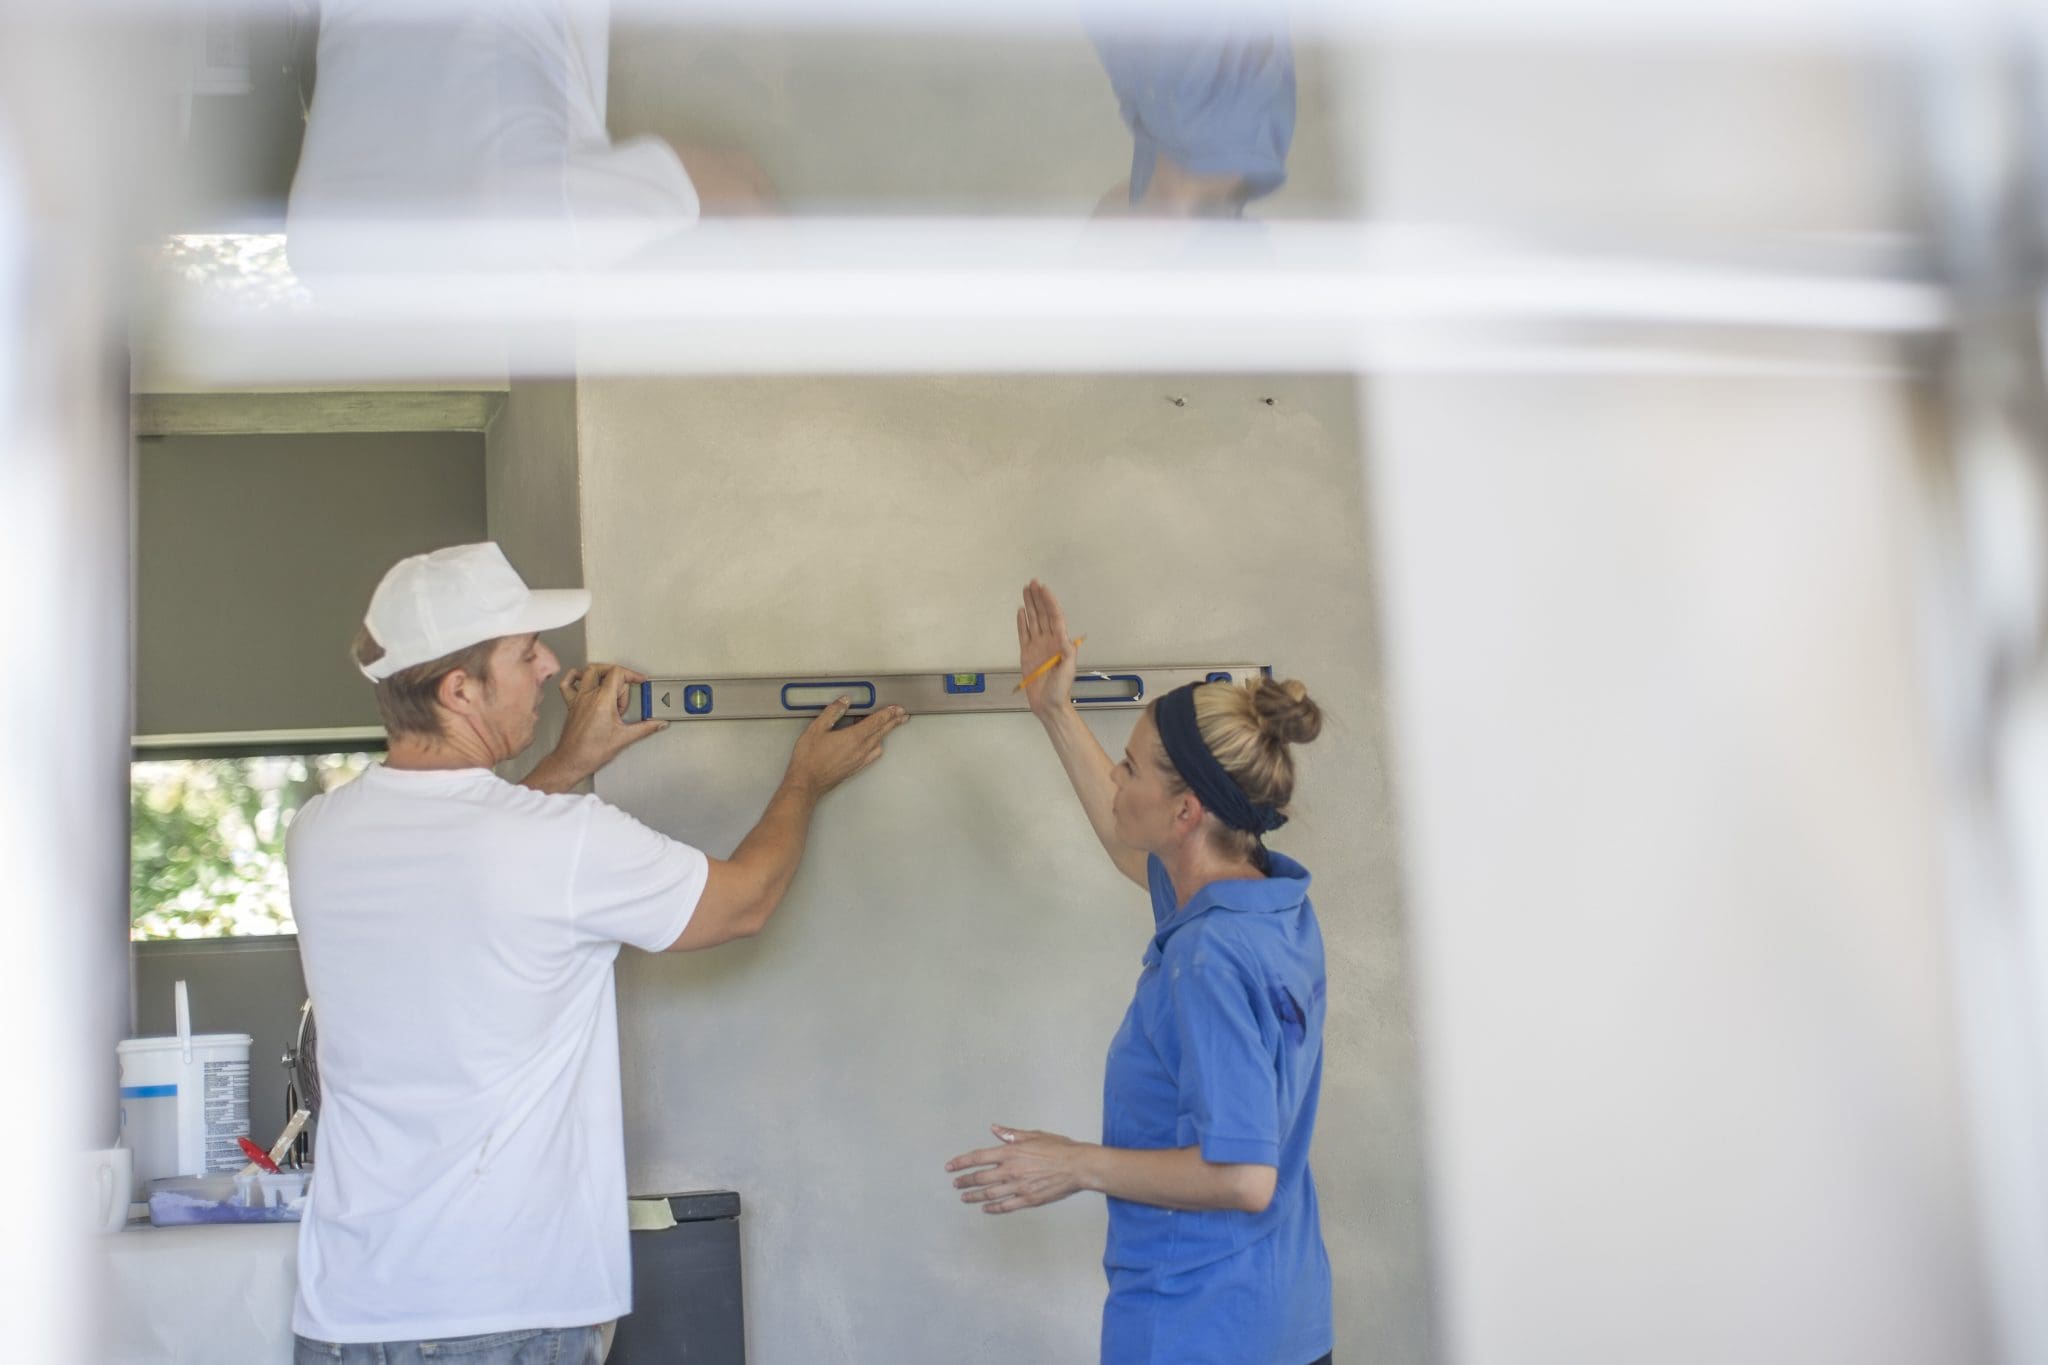
Step 3: Sand Uneven Surfaces
Even the best repair work can leave slight bumps or ridges. Sanding is essential for creating a flat, smooth wall ready for plaster.
- Use medium grit sandpaper: For most surfaces, 120–150 grit works well.
- Sand gently: Avoid over-sanding, which can damage the wall or remove filler.
- Clean the dust: Wipe down the wall with a damp cloth to remove any residual dust.
Sanding ensures the plaster has a consistent surface to adhere to, helping prevent imperfections after the plaster dries.
Step 4: Apply a PVA Bonding Solution
Applying a PVA (polyvinyl acetate) solution improves adhesion between the wall and the plaster. I always recommend this step, particularly for new plasterboard or very porous surfaces:
- Mix the PVA solution: Typically diluted 1:4 with water unless stated otherwise by the manufacturer.
- Brush onto the wall: Apply a thin, even coat over the entire surface.
- Allow to tack: Wait until the PVA becomes tacky but not dry before plastering.
The bonding solution helps the plaster stick better and reduces the risk of cracking or detachment.
Step 5: Protect Surrounding Areas
Before starting plastering, protect floors, skirting boards, and windowsills to avoid mess:
- Cover floors: Use dust sheets or protective plastic sheeting.
- Mask edges: Painter’s tape works well around skirting boards and window frames.
- Move furniture: Clear as much as possible to give yourself room to work.
Good preparation of the workspace ensures a cleaner, more professional result.
Step 6: Consider the Type of Plaster
Different projects may require different types of plaster. Common options include:
- Multi-finish plaster: Good for a smooth finish over most surfaces.
- Bonding plaster: Ideal for bare brick or blockwork.
- Skim coat plaster: Used for minor corrections or finishing over existing plaster.
Choosing the right plaster for your walls in Bury ensures both durability and a polished finish.
Final Checks
Before applying plaster, double-check:
- All dust, dirt, and debris are removed
- Cracks and holes are repaired
- PVA has been applied and is tacky
- Floors and furniture are protected
- You have the correct plaster and tools ready
These final checks save time and prevent issues during plastering.
Conclusion
Proper wall preparation is the key to a professional plaster finish in any Bury property. From cleaning and repairing walls to sanding, applying PVA, and protecting the workspace, every step matters. Skipping preparation may save time initially, but it almost always results in cracks, uneven surfaces, or the need for costly repairs later.
At 3D Construction, we specialise in preparing and plastering walls across Bury, ensuring every project—from minor repairs to full home renovations – is completed to the highest standard. Whether you’re planning a fresh skim or a full plaster, investing time in wall preparation guarantees a smooth, flawless, and long-lasting finish.
For expert advice, free quotes, and professional plastering services in Bury, contact 3D Construction today.